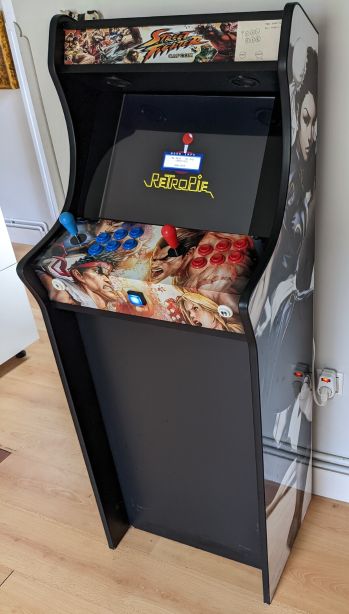
Disclaimer: I uploaded this to the blog in January 2025 but I have set the publish date to 21/08/2020 which is when I finished building the first version of the Pi Arcade. This post was taken from my Synology Note Station page pretty much word for word but there are also updates after the 21/08/2020 date, and I imagine in the future there will be new updates as well.
Read on for context and the build process!
A bit of back story
In February 2020 I switched roles from being the head of a a Project Management Office for one of our clients in Madrid to being a Senior Solution Architect. The project team totally
caught me off guard by chipping in for a going away present, which I had always understood was done when you leave the company, not just changing roles! The present they got me an arcade kit which included a standup arcade cabinet, joysticks, buttons, and vinyl stickers. Just assembly and a RaspberyPi was needed. So those who don’t remember, 2020 got pretty, hummm how should we say it? Intense? Different? Unpredictable? Yes all those apply. 2020 got really intense, different, and unpredictable really fast and when I saw that Madrid was going to go into lock down I forced our family to run to my Mother in laws house in Northern spain. I had the arcade kit still in the boxes in my storage room, and as I grabbed extra monitors, PDUs, and power line network extensions I tried to get the arcade kit in the car, but alas there was no room so it had to be left behind. In June when the lock down had ended my wife and I went to Madrid to go by our workplaces to pick up the stuff that was still left in the offices (remember when we used to have assigned desks where we could leave stuff…what a strange concept as I write this in 2025) and I took the opportunity to pick up the arcade kit as well. This was all under the radar of my wife and half way on our back to norther spain we stopped to organize the load in the car to be less suspicions, because in our 2 days absence they had suddenly closed access to northern spain again (did i mention that these were intense, different, and unpredictable times?). Suddenly my wife was asking what the heck were all these boxes and I had to let her know they were an arcade Kit that I was gifted when I had left the project and I had thought that her mom’s house and the circumstances would be a good place to build and leave an arcade. Oh nelly. I am admittedly not the sharpest tool in the shed and often miss read situations and this was one of those times. My wife was furious that I thought I could just bring crap to leave at her mom’s house. So we reorganized the load as best as possible to not be suspicious that we were just arriving in norther spain and resumed our drive, quite honestly getting more nervous every kilometer we got closer to our destination that we would be stopped and and forced to return to Madrid. But although I am not the smartest tool in the shed, I do sometimes have good ideas, and my idea was to time our arrival at spanish lunch time hoping the cops had taken lunch breaks and the check points would not be manned and it worked! We made it without encountering any checkpoints! So I stored the arcade kit in the garage and it was about a month later that I mentioned to my brother in law that it was a pity we could not take advantage of the arcade. He of course was not of the same opinion as his sister and encouraged me to begin building it, which I of course began that day!
Build Process
01/08/2020
It begins and, quite honestly did not get far the first day as I was underwhelmed with the instructions, that were not at all clear.
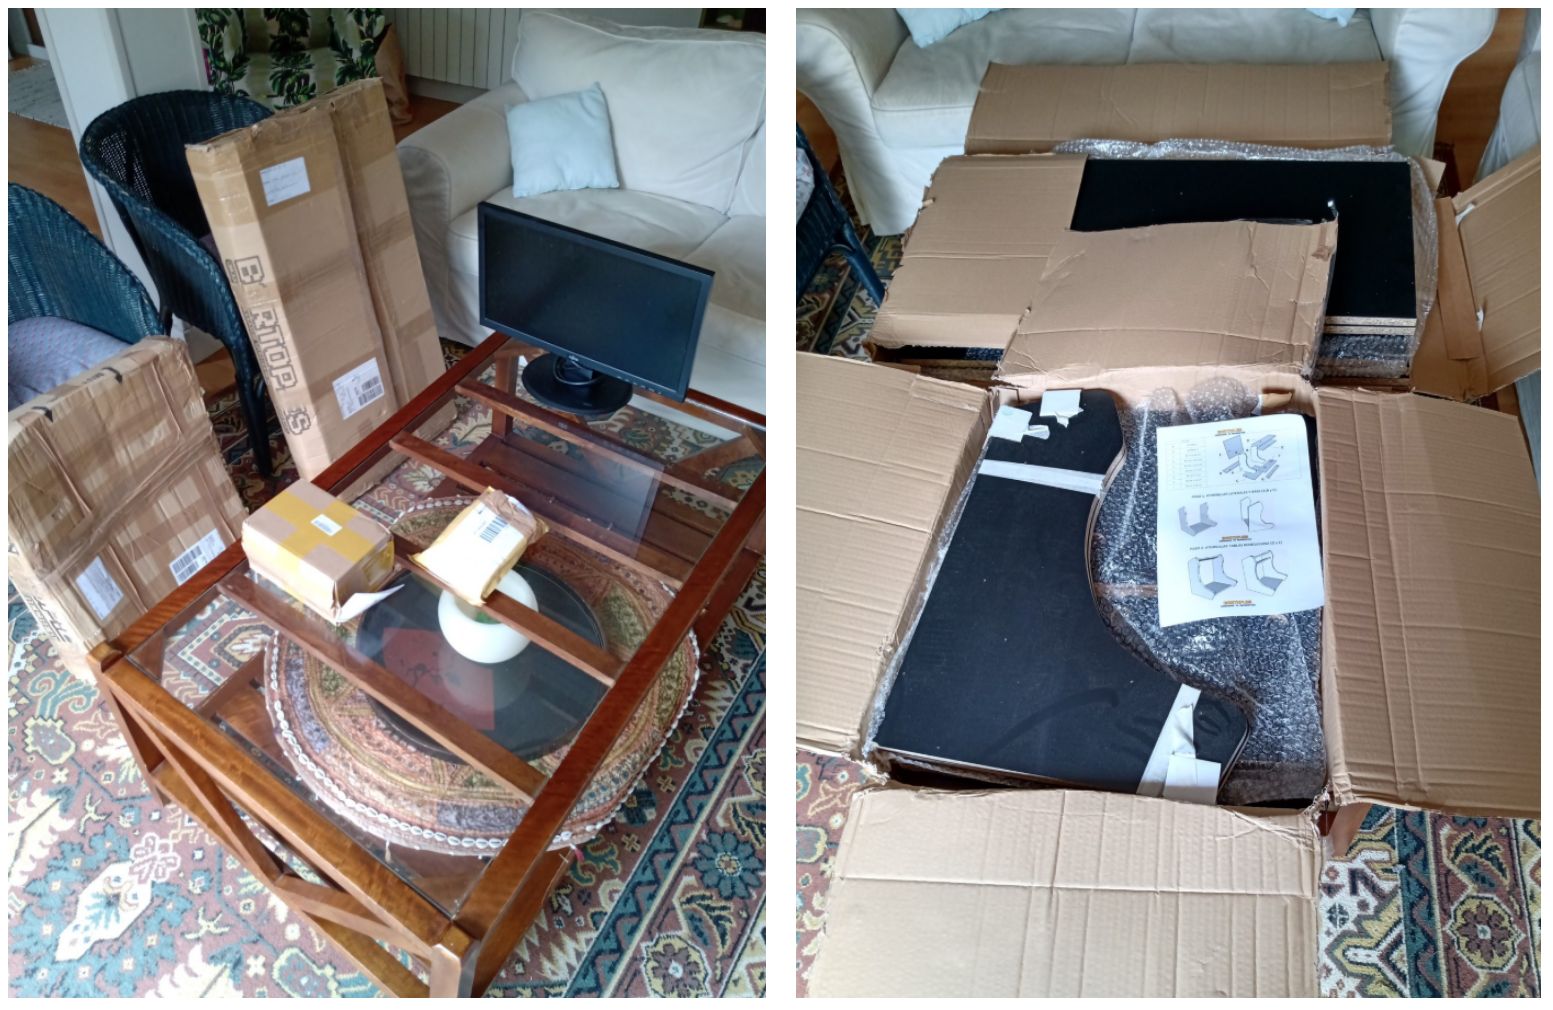
04/08/2020
After finding this youtube video and a trip to the hardware store for some hinges I was ready to tackle the challenge!
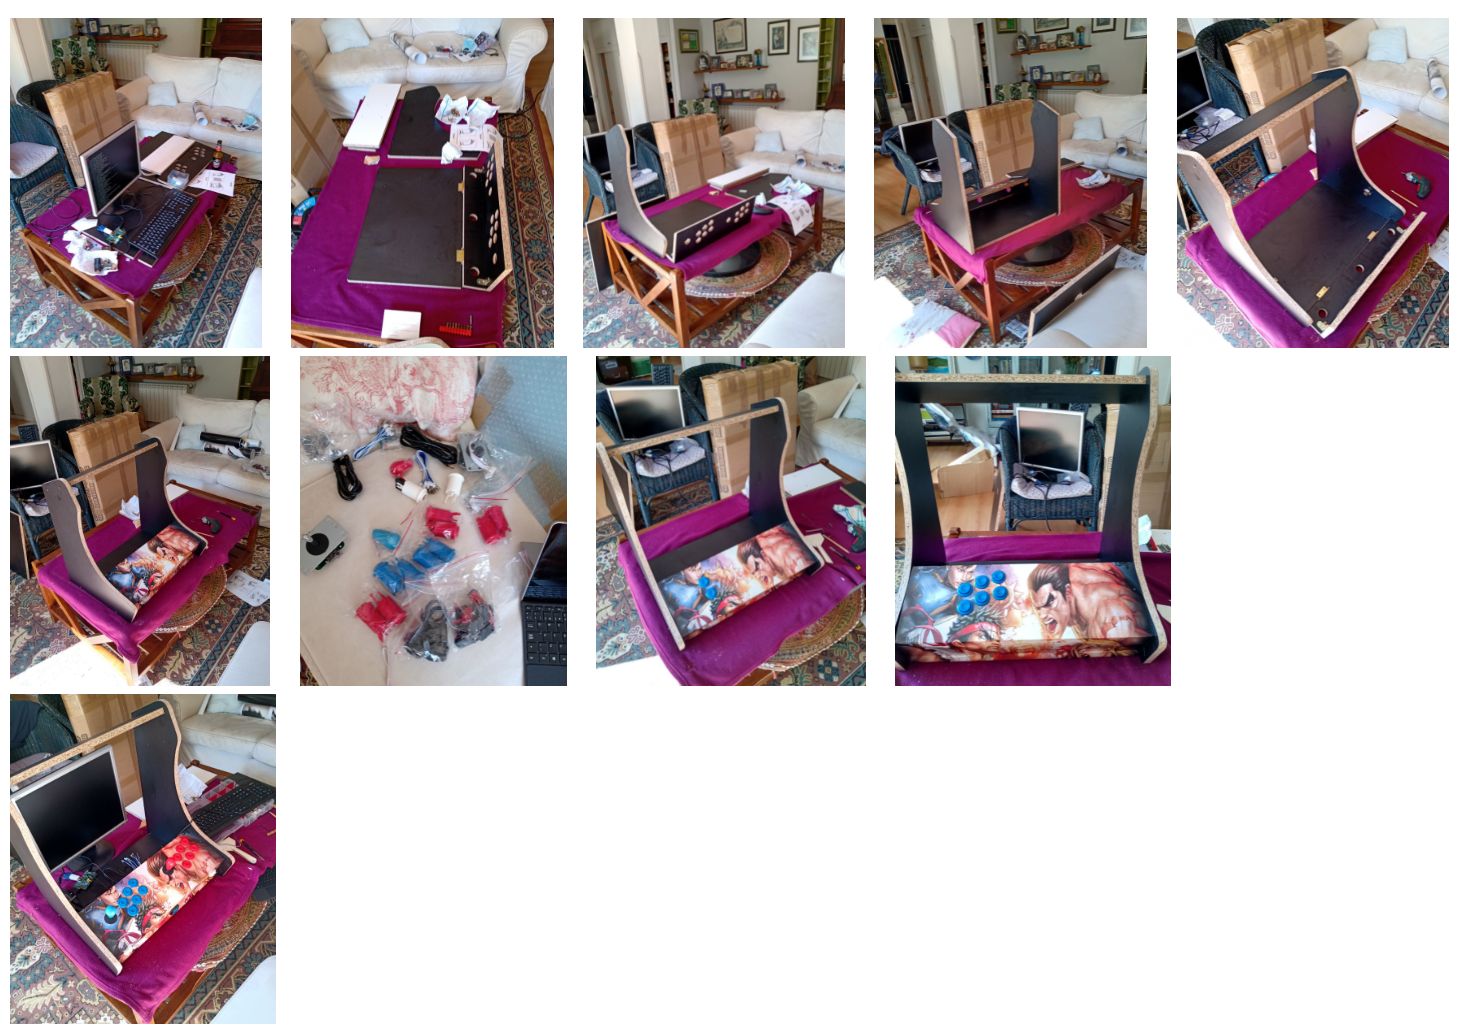
05/08/2020
I thought I could hack making holes for speakers but it did not work and had to buy an adjustable drill bit:
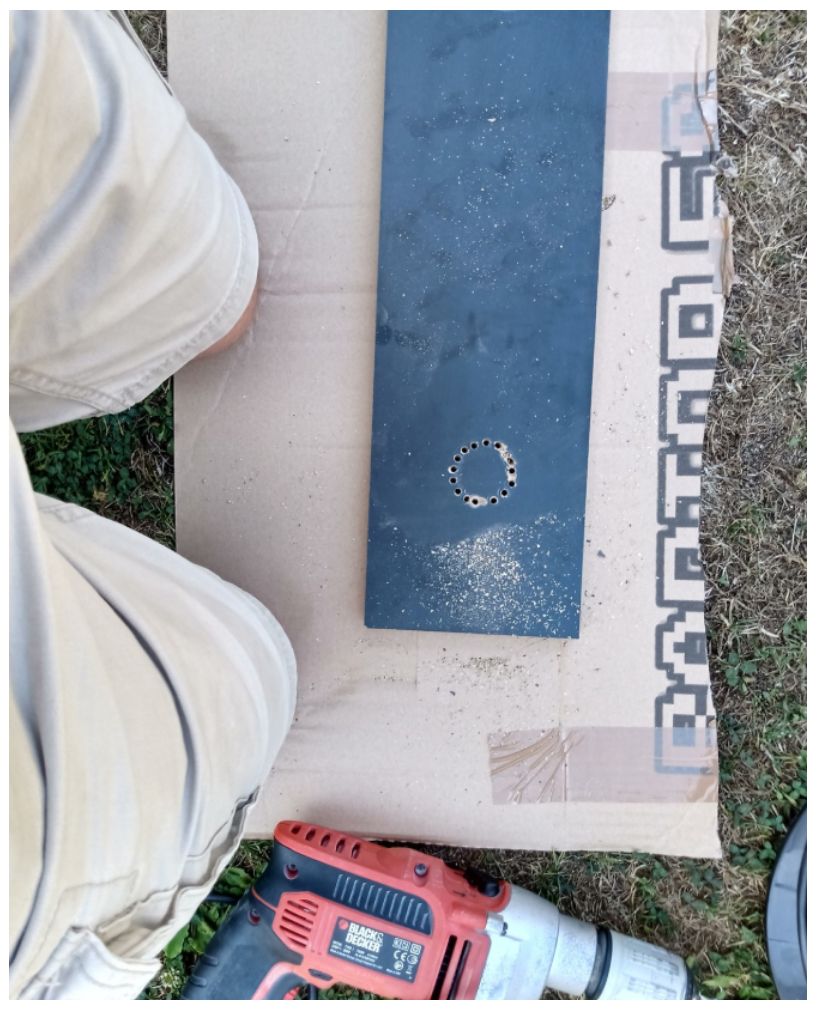
06/08/2020
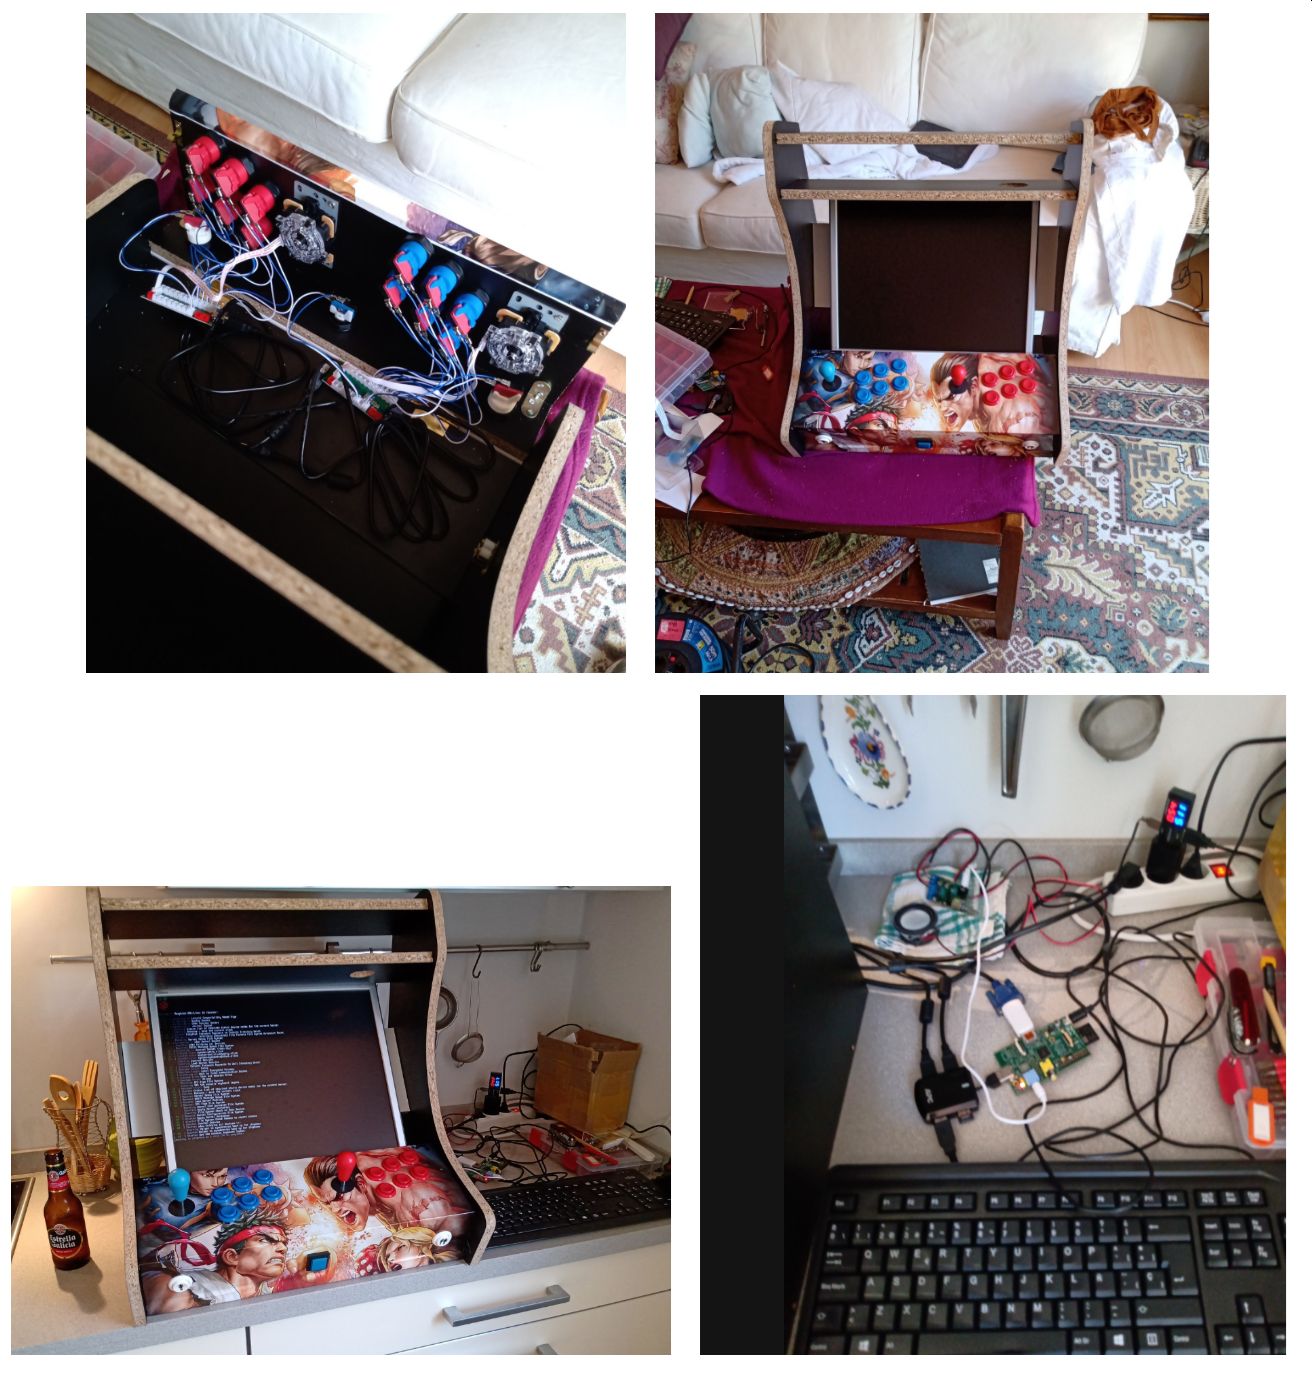
08/08/2020
after testing multiple of different distributions, I finally settled on RetroPi and spent lots of time trying to figure it out and get it to work (actually as of today 22/08/2020 i still have not figured out how to get it to save specific game joystick mappings and screen resolution settings)
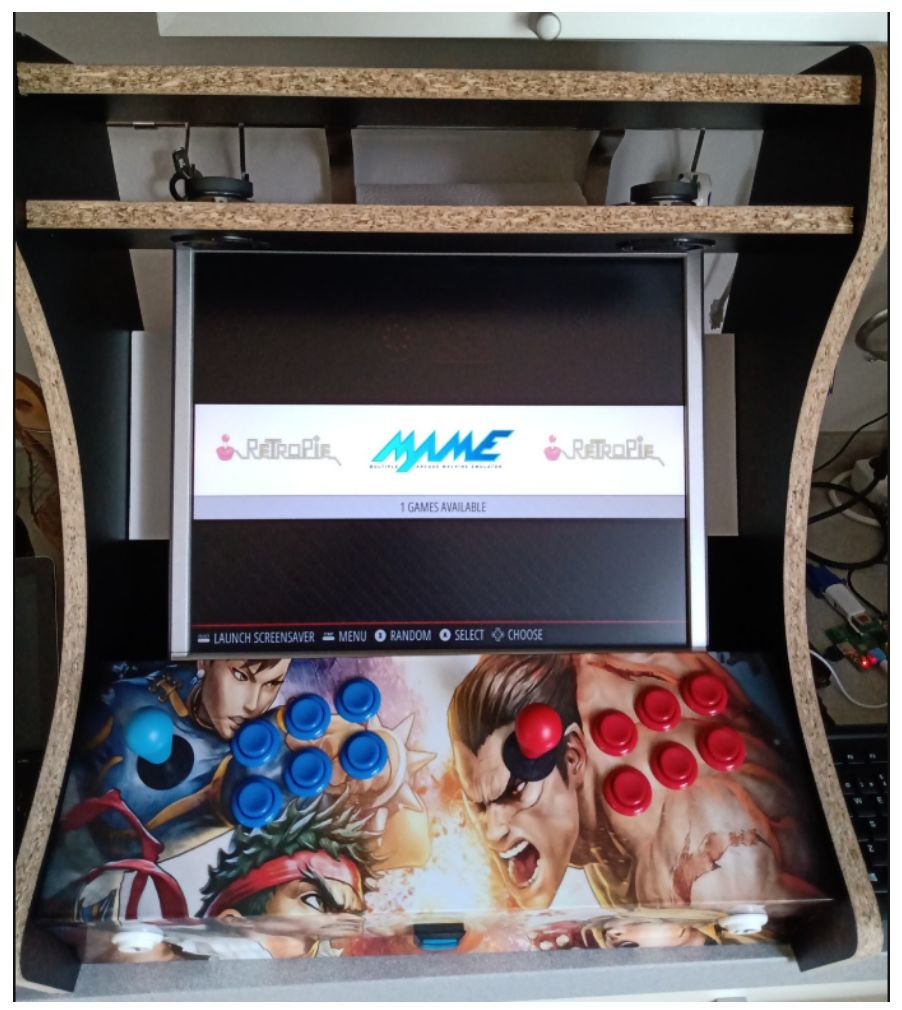
18/08/2020
Decided to stop fighting with the functional part of the arcade and finish the actual physical construction
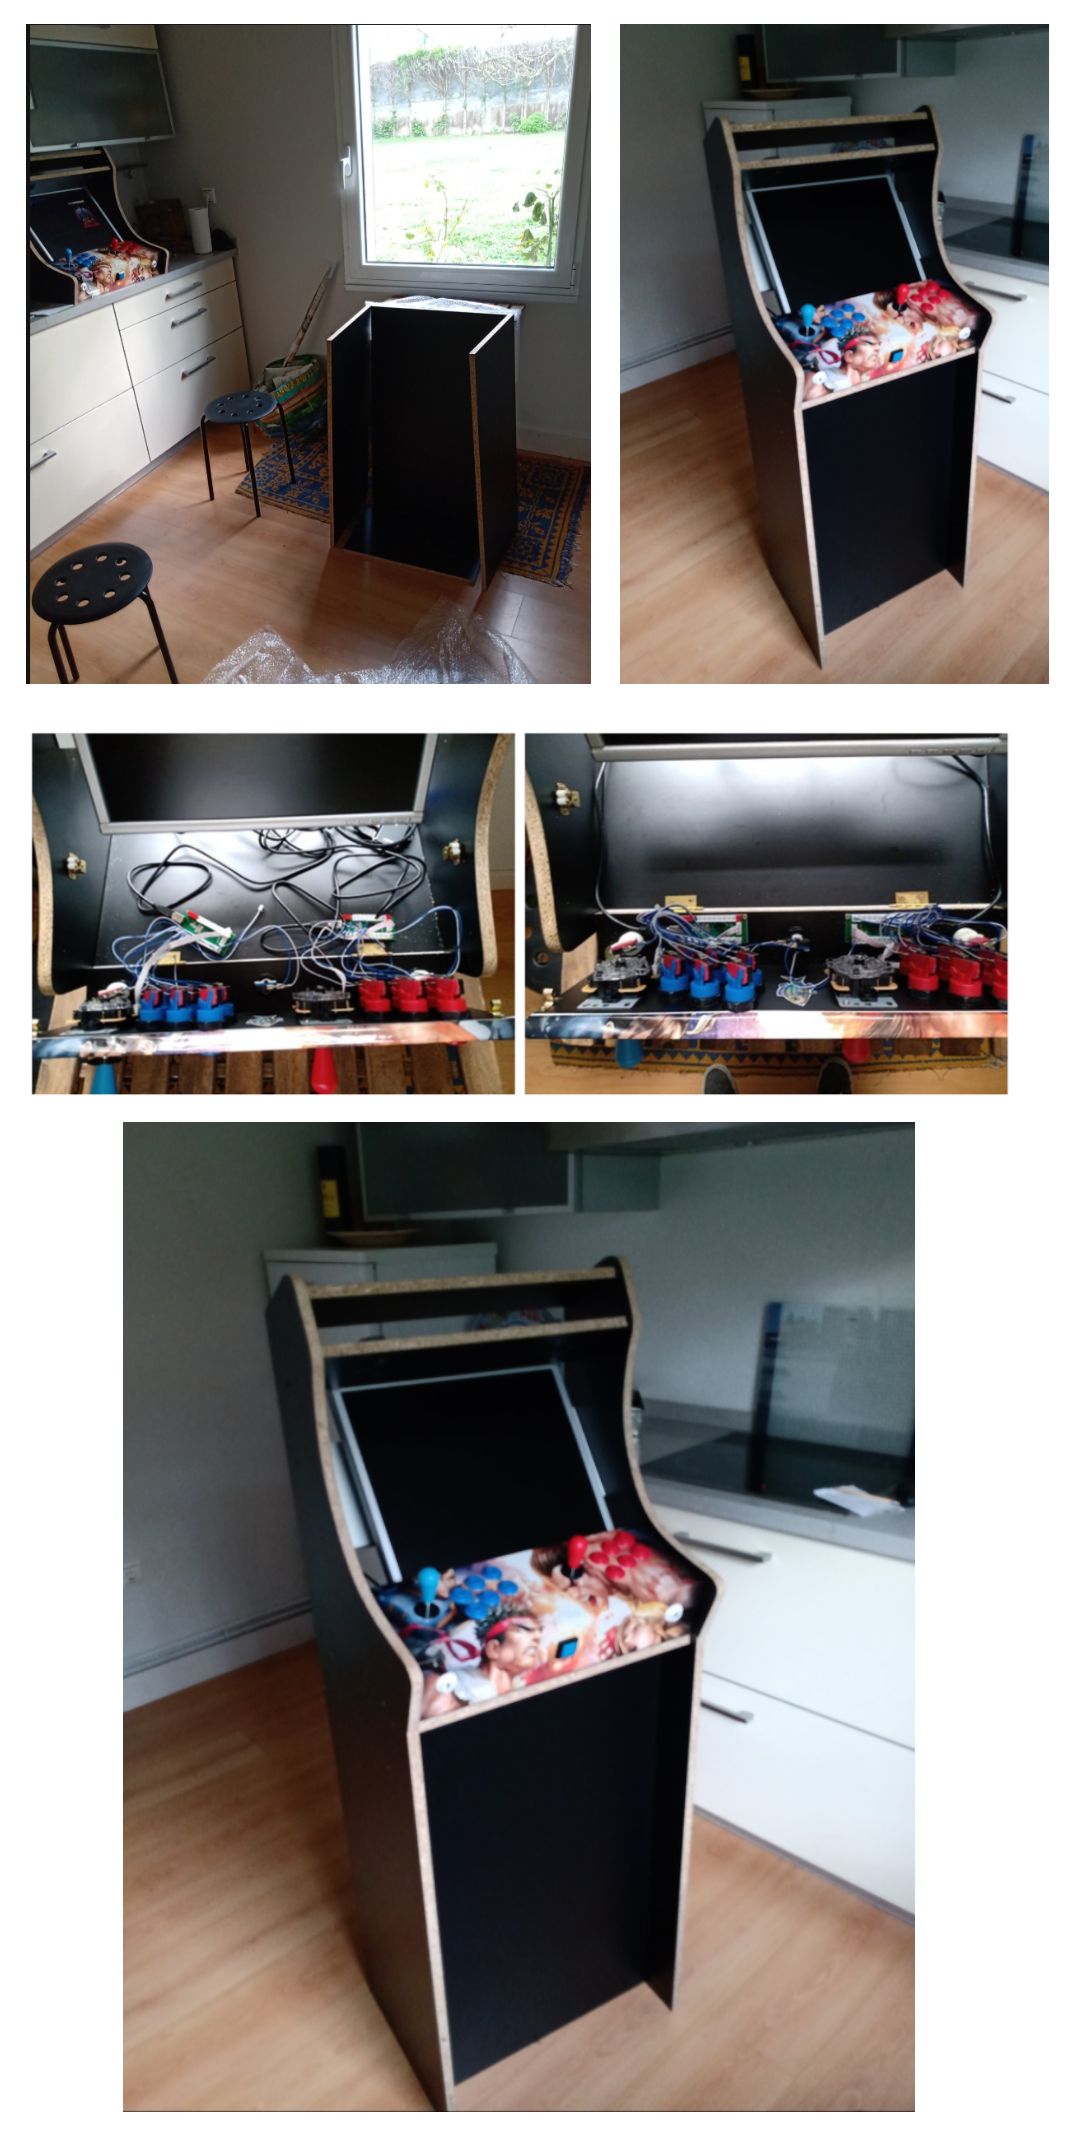
19/08/2020
added the Marquee and the screen covering and it is starting to look good!
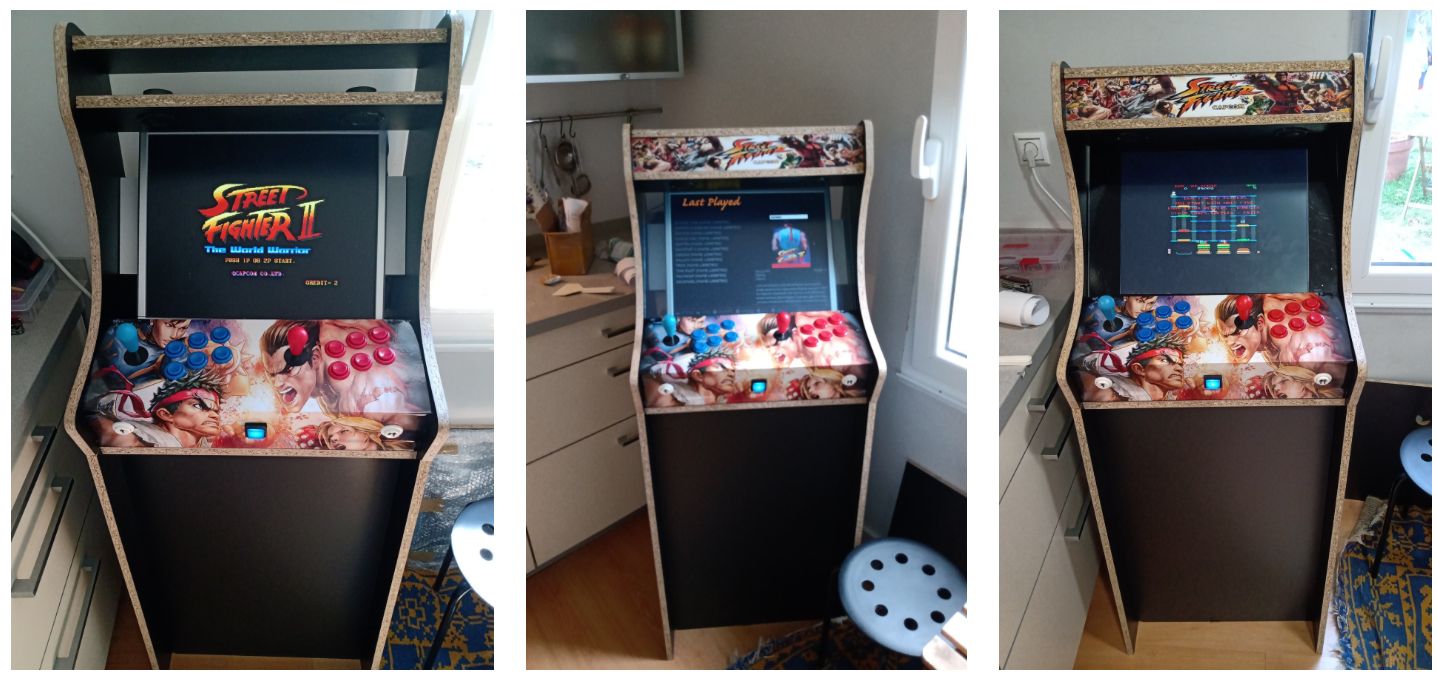
20/08/2020
ordered U tubbing but thought some black edging tape would be good for around the marquee and bottom:

21/08/2020
Final sprint to the finish! amazed with the results!
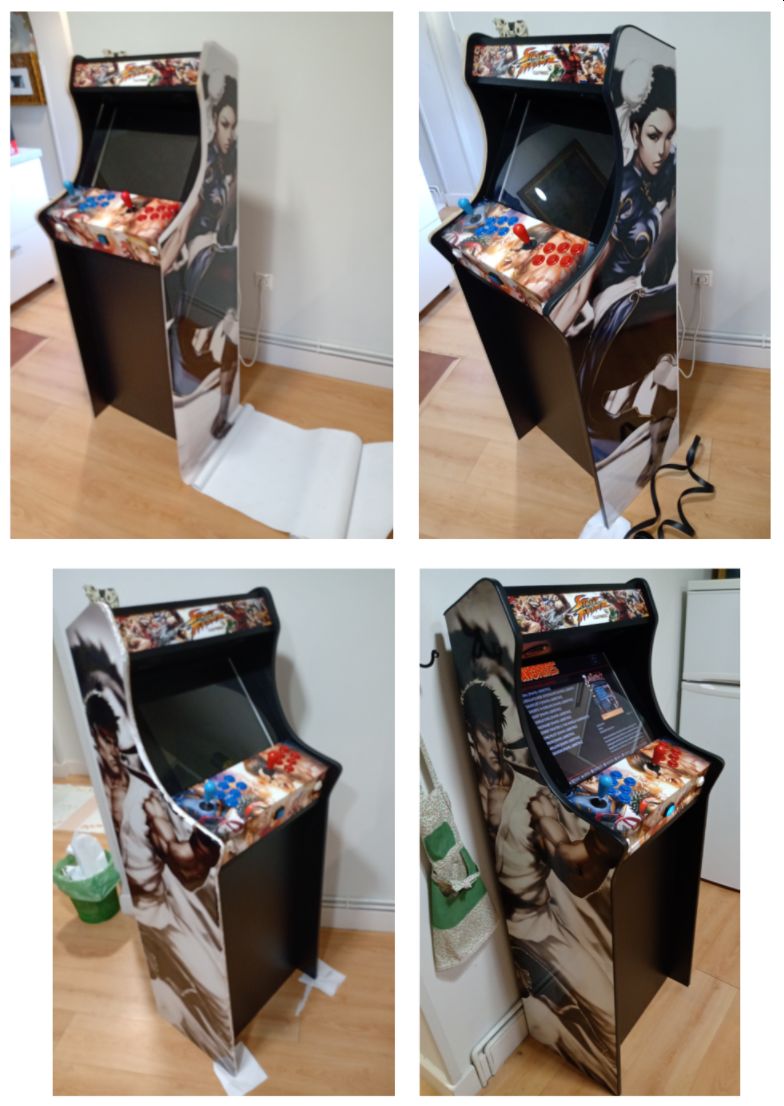
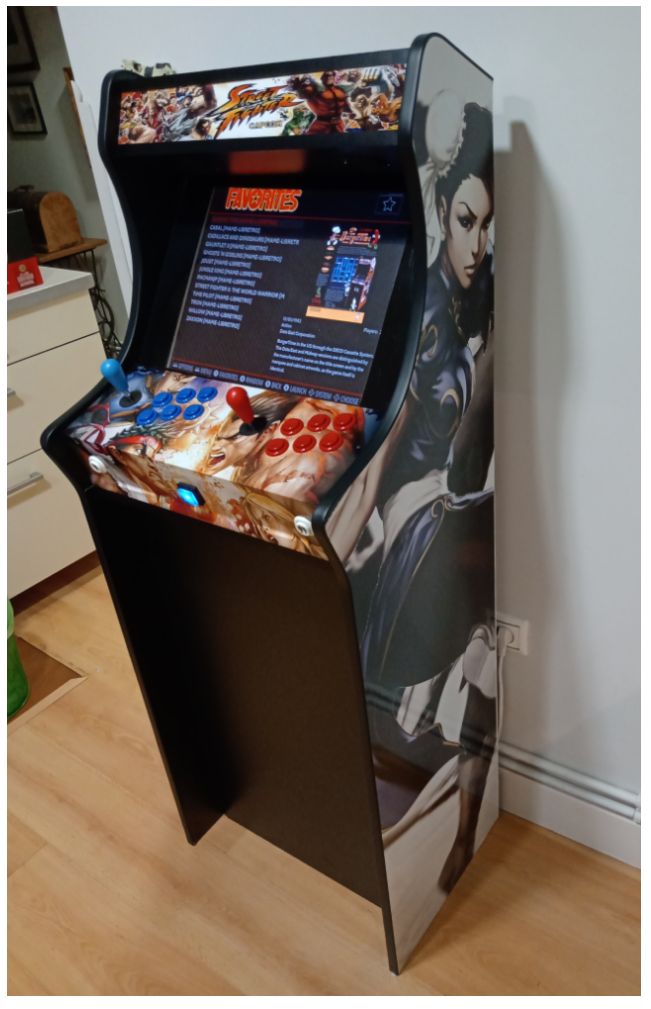
Update 05/12/2020: Upgrade to Raspberry Pi 3 B+
The initial build was done with a Raspberry Pi A but it was painfully slow to boot. If I was good at math I would tell you the improvement with numbers, but for me a visual tells me much more:
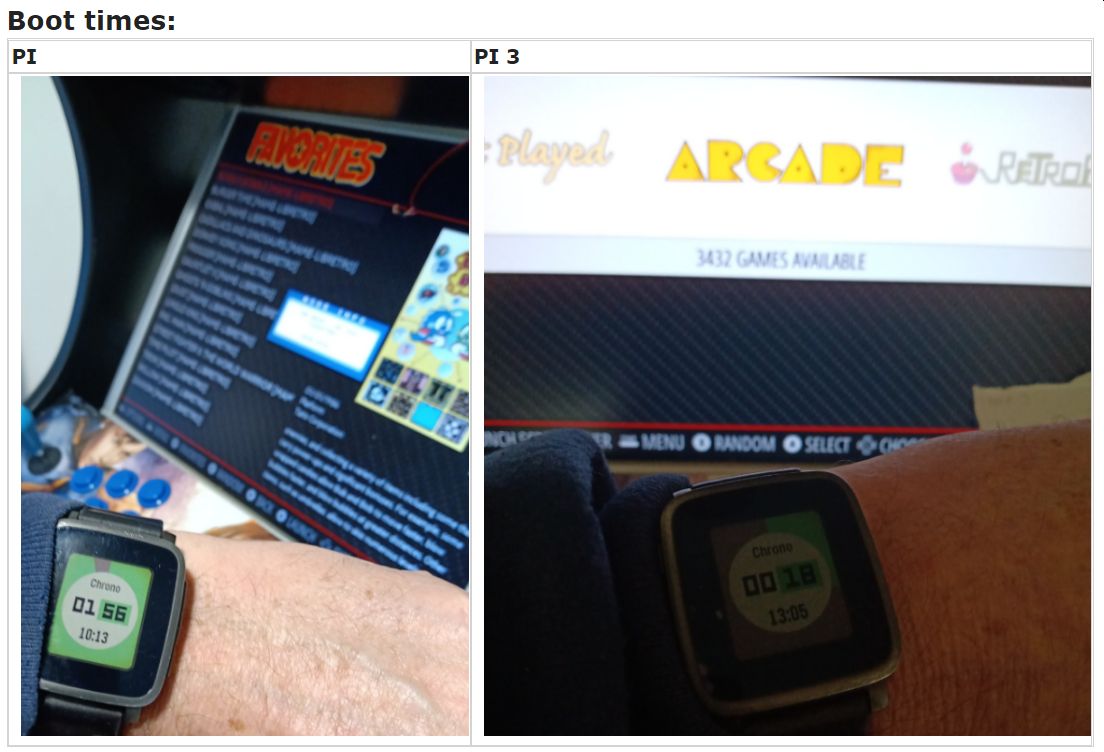
This might be a bit disingenuous as I did do other optimizations:
it was taking 52 seconds to boot (still a full minute faster than PI 1, but I wanted faster!) and found this command to analyze what was slowing things up:
‘systemd-analyze blame’
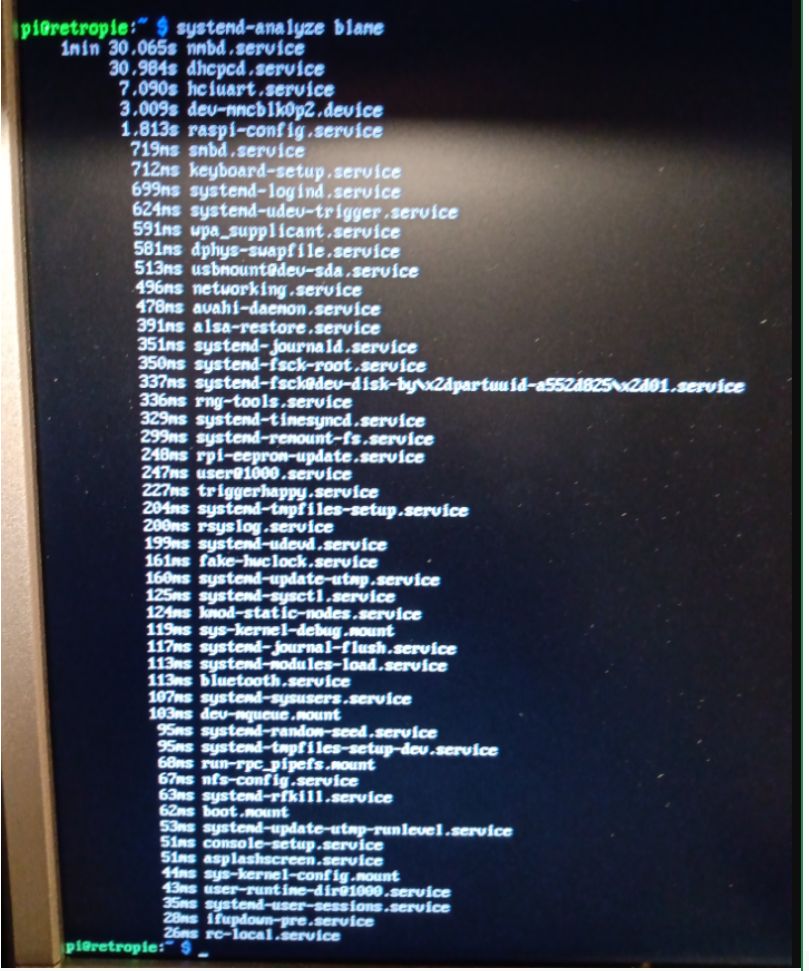
after disabling dhcp and a netbios process it now boots in 19 seconds!
Update 31/07/2022: Electrical plug improvements
After quite a lot of thought and investigation of options for turning everything on and off, I realized the best bet was to go with easiest and simplest solution:

Links, References and things that helped with this
- Where to cabinet is from: https://bartop.es/
- Distribution I am using: https://retropie.org.uk/download/
- Tried these ones as well:
https://archive.recalbox.com/
http://piplay.org/ - Where i got the U Tubing (arrived overnight!): https://www.arcadexpress.com/
- Youtube video that got me over the fear and gave me lots of ideas on how to proceed:
https://www.youtube.com/watch?v=e9I7Bx5kRyo&feature=emb_title
Details
- Rasperry Pi Used: Raspberry Pi 3 Model B+
- Distribution: RetroPie 4.7.1 update (Nov 2020)
- MAME: lr-mame2003
- ROMs: MAME 0.78
- Folder: /home/pi/RetroPie/roms/arcade
- Button Layout:
Y X L
B A R
Thanks for reading and feel free to give feedback or comments via email (andrew@jupiterstation.net).