In early June 2013 I saw a guide on Adafruit about using a Raspberry Pi as a Mame game console. What I really loved was the idea of using the GPIO (general-purpose input/output) pins to directly connect the joystick and buttons. Not long after I was reviewing material in a warehouse to ensure that none of our networking equipment was stored there because the next day a chatarrero (scrap collector in spanish) was coming to take everything away. I did not find any of our networking equipment, but I did see an old Sony Trinitron security monitor that I immediately thought would make a great game console due to it’s form factor like the old Vectrex from my youth. So read on for the implementation and evolution of the project!
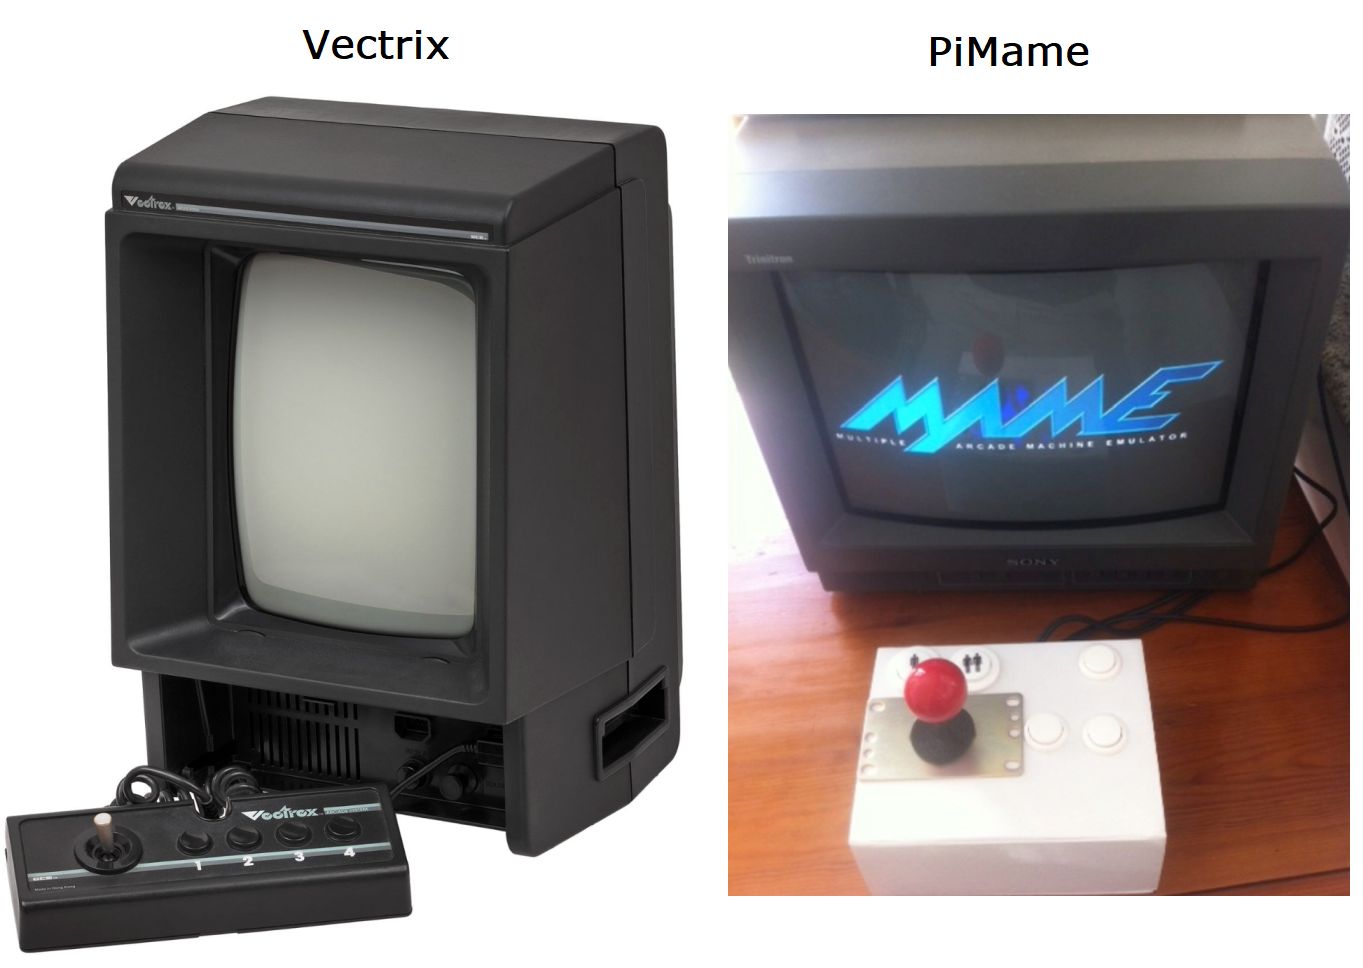
First Prototype
Of corse the guide on Adafruit had joysticks and buttons but there was no shipping to Spain so I found the wonderful ArcadeShop.de in Europe that had REAL japanese components just like the real arcade consoles!
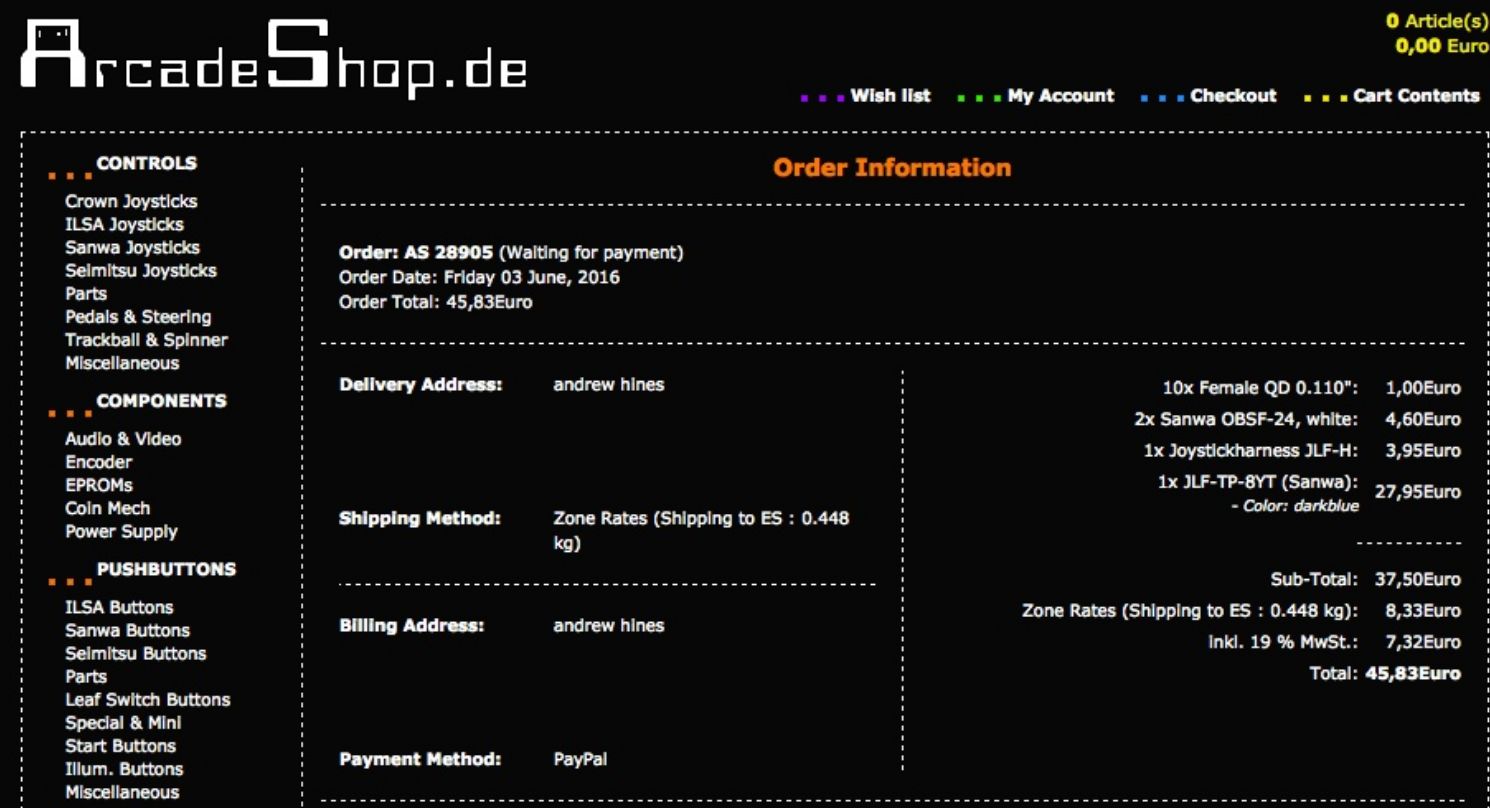
A bit more expensive than other knock offs, but man the whole button and joystick response is a world to its own, and I was looking for the most authentic experience possible. I opted for a legendary Sanwa Joystick and 5 buttons (1 player, 2 player, $, button A, and button B):
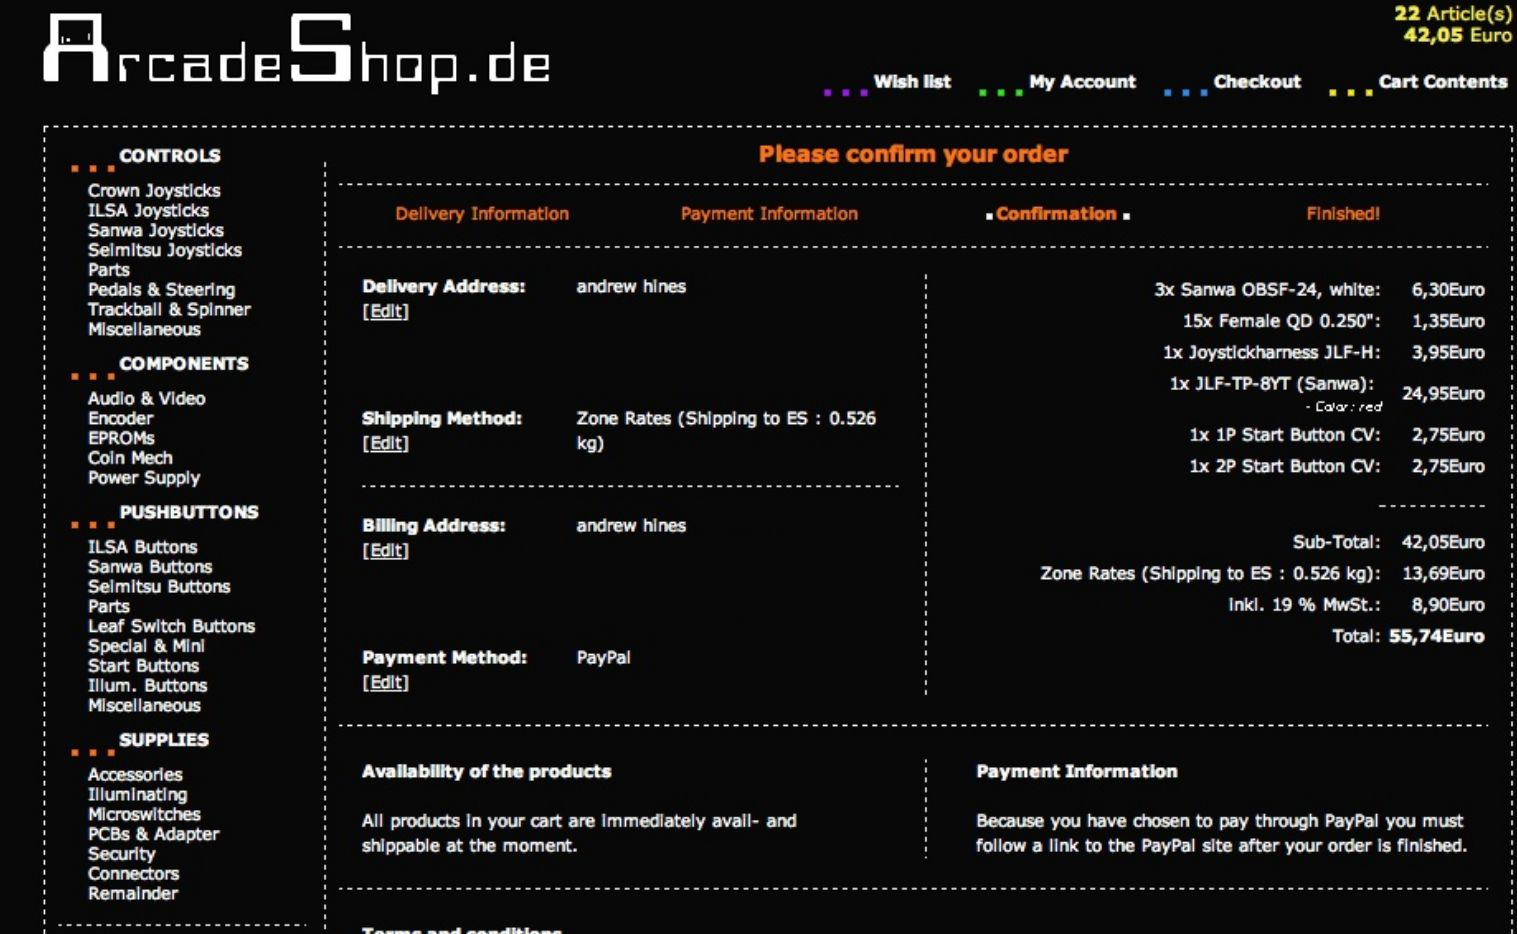
Two weeks later I had a package waiting for me and I had a moment of zen cabling and testing the joystick and buttons.
The cabling guide from Adafruit really helped and here is my cheetsheet of the final mapping of my buttons:
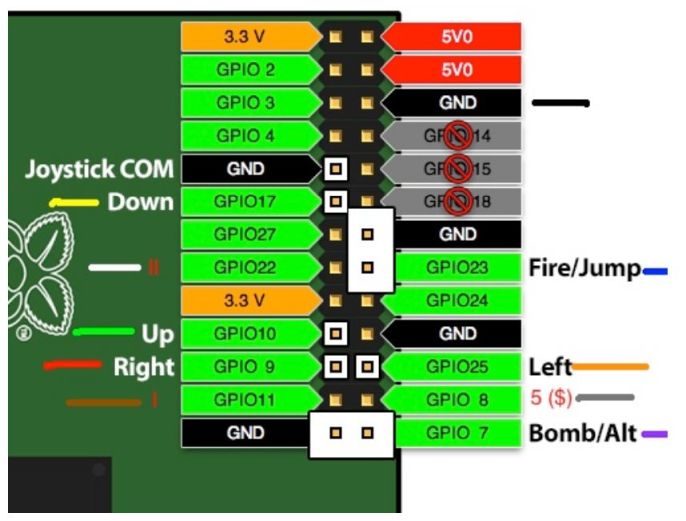
For the mapping of of the buttons from the GPIO to a Mame key press I used Adafruit-Retrogame which involved editing the retrograme.c file and compiling with make.
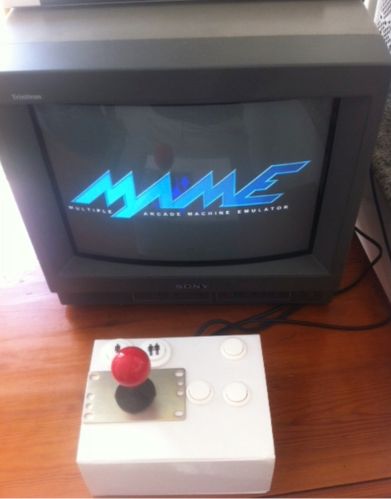
Here is prototype 1 which I messed up in two ways: button holes too big and I should have put the opening of lid in front (but that what a prototype is for: figuring out how to get things to work):
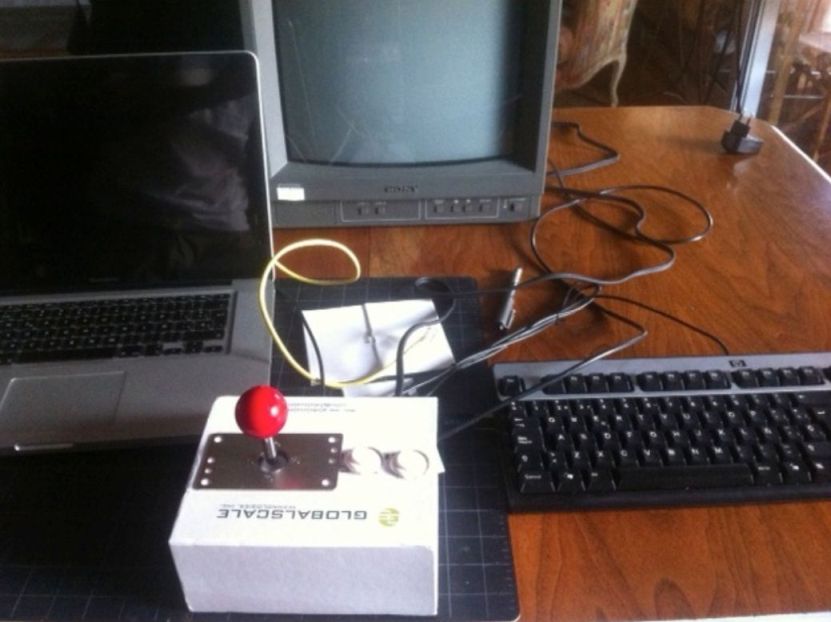
The box is from a SheevaPlug and worked great because it has built in magnets to hold it closed. I had a few other another SheevaPlug boxes which were even better because they had no markings and were plain white so the next iteration turned out to be the final build:
Let’s make this multiplayer
The first iteration gave us hours and hours of fun. Lots of competitions to see who could get the highest scores, but with just one joystick it was not possible to play the mother of all 2 player games: Joust. So 3 years later in the summer of 2016 I made another purchase in ArcadeShop.de:
And I had another a moment of zen cabling and testing the joystick and buttons as you can see in the following photo collage:
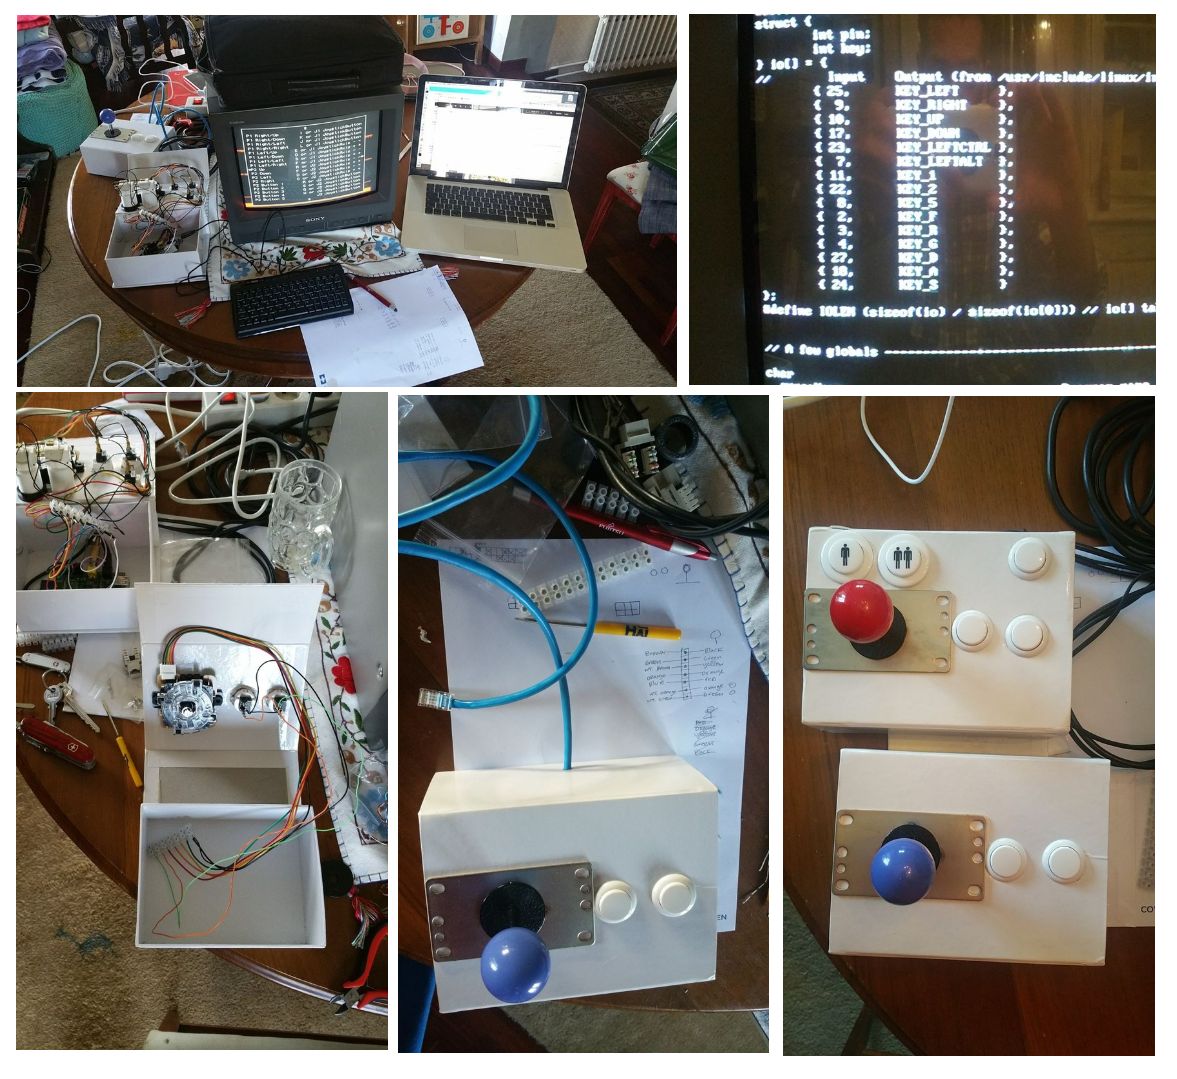
With 2 joysticks and 7 buttons a total of 15 GPIO pins were needed which pushes the original Raspberry Pi’s 26 pin header to to the limit as 4 pins are used for power and another 5 for ground leaving only 17 usable pins. So with the current implementation it would only be possible to add an additional single button to each joystick. That would be nice for Golden Axe to use magic, but no where near the number needed for the 6 buttons per user with Street Fighter II. Mr Eben Upton must have realized this was limiting Raspberry Pi sales and later versions now have a 40 pin header which is sufficient for all the buttons of Street Fighter II.
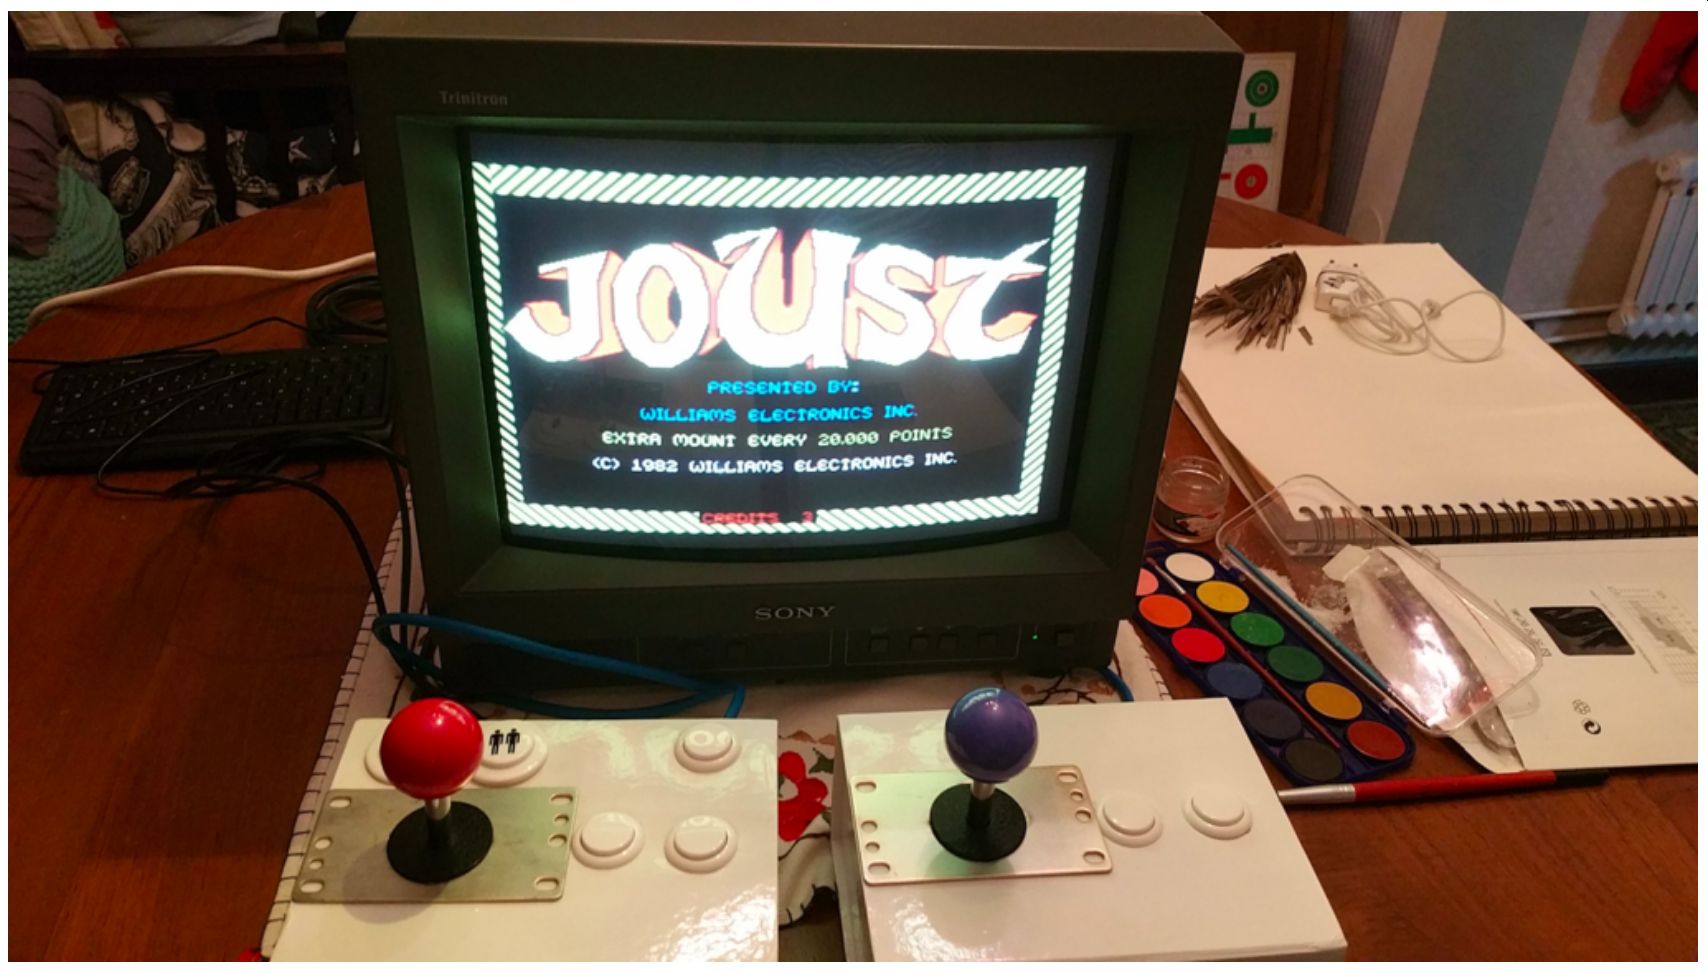
and the final result:
Thanks for reading and feel free to give feedback or comments via email (andrew@jupiterstation.net).